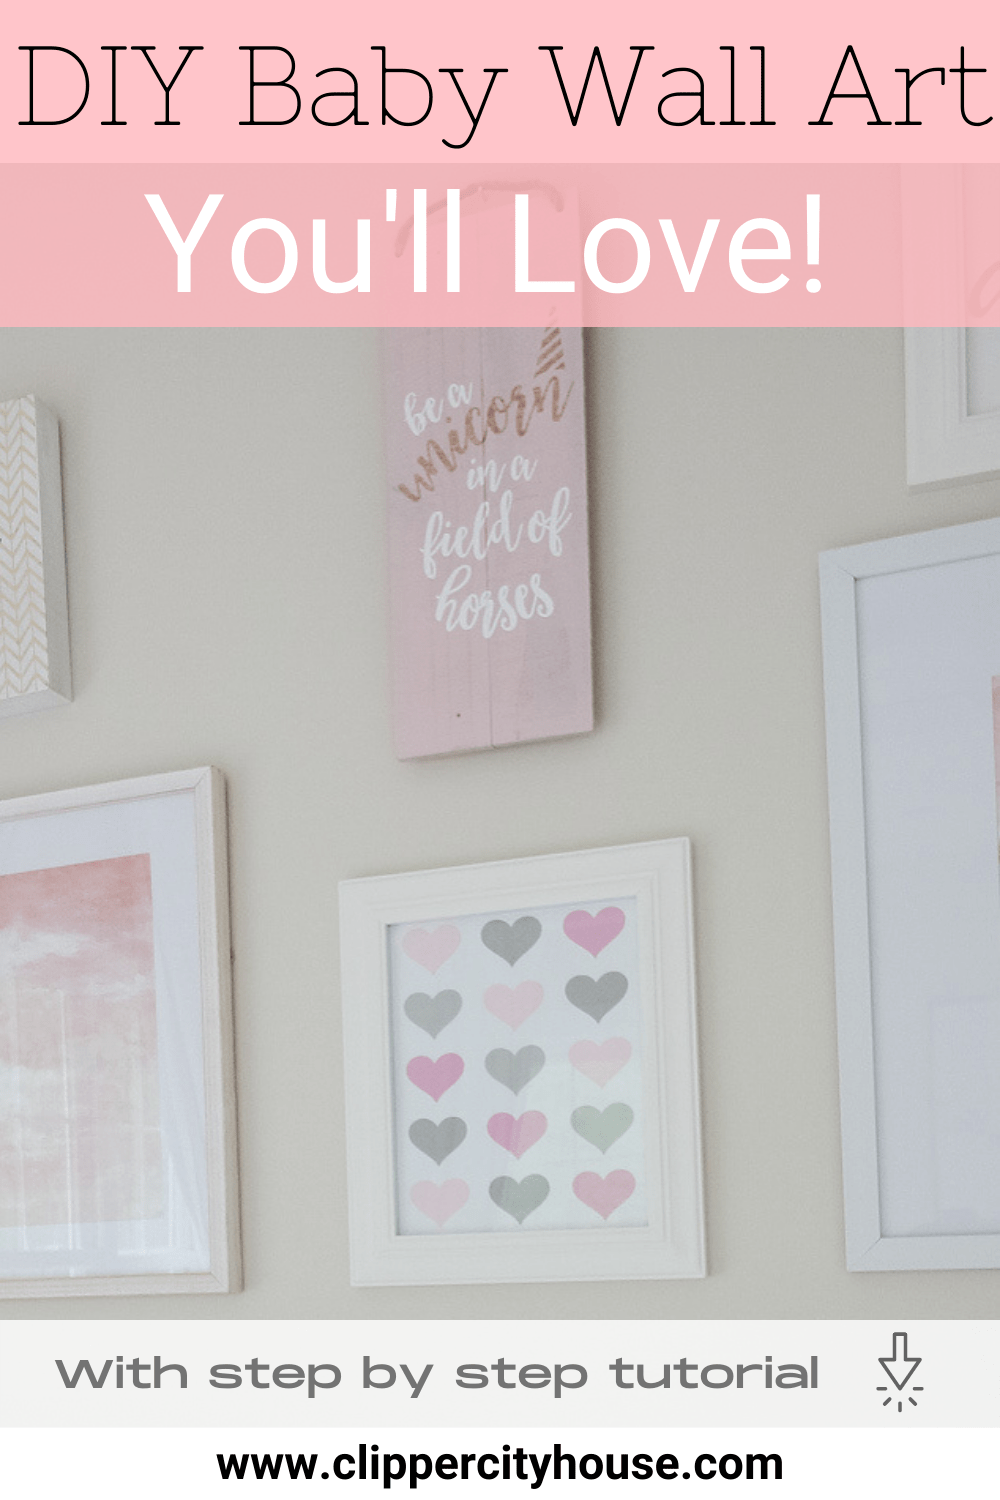
Looking for an easy DIY nursery artwork idea? You’ll love my free printable nursery art for your baby nursery!
There are two DIY nursery wall art project ideas in this post with step by step tutorial!
So you’re looking for some cute décor for your little one’s room?
I was in your shoes not long ago! I’m a blessed Mama of a little girl & little boy!
Note: the DIY wall art below was for my daughter’s room BUT you can actually customize these to be for a girl, boy or completely neutral! I’ll share how below!
Related: Baby Nursery On A Budget
Free Printable Nursery Art
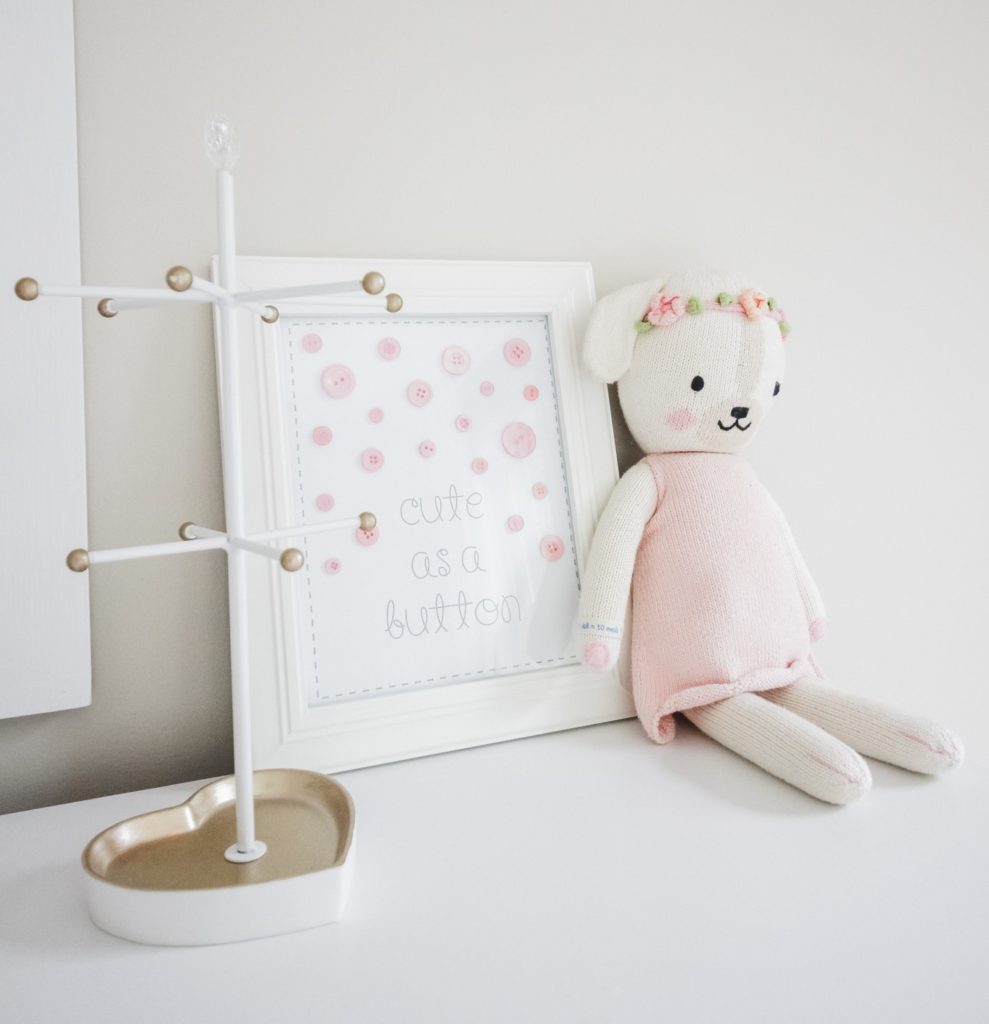
I made this Cute as a Button wall art for my daughter’s nursery. It was so FUN & SIMPLE!
Round up the supplies – I’ve linked supply options as ideas below. You can use whatever on hand supplies you already have or shop these supplies online or at your local store.
Disclosure: This post contains affiliate links. If you click through a link and make a purchase, it will earn me a small commission, at no additional cost to you! See our disclaimer for details.
Step 1 – Create!
I used Microsoft Word and created the cute little cross stitch boarder for the outside of the print.
To create a border you will want to go to the ribbon within Microsoft word and go to the design tab. All the way to the right on the design tab, you will find the page border function where there are a number of different border options to choose from.
Microsoft Word will typically default to an 8×10 size. If you would like a different size, go to layout and then size and select your size. You can go bigger or smaller!
Next, I needed a super cute font! This font is called Pretty Girls Script. See I how downloaded this super cute font here!
Now my example is pink with a girly font, but you can easily make this template in any color with any font!
Step 2 – Save & Print!
You will want to print on a nice cardstock.
Here is my favorite heavy duty cardstock option from Michaels.
You can get card stock almost anywhere!
I chose white but you can choose any color or pattern as well.
Step 3 – Add some super cute Buttons!
I mixed and matched the shades and sizes of the buttons which worked out beautifully!
Tip: You don’t want the buttons to be too thick because then your art won’t fit inside the frame.
Different Button Options:
- Pastel Buttons
- Pink Buttons
- More Pink Buttons
- Blush Buttons
- Pink Ombre Buttons
- Blue Ombre Buttons
- Purple Buttons
- More Pastel Buttons
I first placed all the buttons to make sure I liked the layout BEFORE gluing them on the cardstock.
I love to use the little round glue stickys – I use them for all of my crafts but if you try to take them off, they mess up the paper pretty badly.
Luckily, you can just print another but save yourself the frustration and test the layout first.
Step 4 – Frame & Hang!
I used pretty white frame from Michael’s but I also think a gold or wood frame would look great as well!
As I mentioned above, you don’t want the buttons to be too thick because then they won’t fit inside the frame.
My frame was a little hard to fasten shut but not too bad.
Grab my free printable for this wall art in gray, blue, pink, yellow, green and neutral tan! Or create one yourself and don’t forget to send me a picture of your finished work of art!
DIY Nursery Wall Art
Next, I made this Heart Collage Wall Art for my daughter’s nursery. It was also very SIMPLE!

Related: Toddler Girls Bedroom
Round up the supplies – I’ve linked supply options as ideas below.
You can use whatever on hand supplies you already have or shop these supplies online or at your local store.
Step 1 – Punch out your shapes!
You’ll need 15 for an 8 x 10.
My daughter’s nursery was themed pink & gray so I bought some pink and gray scrapbook paper but I also used some of the paper envelopes from my baby shower cards!
Side note: these are great to keep on hand for any little crafts that pop up!
I bought a 2” heart paper punch.
Super easy to use.
They come in lots of other shapes too!

You’ll notice that I did mix of 4 different color hearts in my collage. The options are endless!
Step 2 – Lay Out the Collage
Next, you need to get your card stock out again.
You can use any color or pattern!
You’ll also want to grab a ruler so that you can lay out your hearts and make sure everything is evenly spaced!
Measuring is key here! If you are doing multiple different colors in your collage, you will want to make sure you like the layout first.
Do a test run with the layout and then mark where each heart will be placed with a pencil.
Step 3 – Glue Your Shapes On
Use Glue Dots (or any other glue product) and put the collage together!
Step 4 – Frame & Hang
I used white frame from Michael’s below but I also think a gold frame would be cute!
There you go!
Now you too can make special, personalize DIY wall art for that little bundle of joy!
I still have my wall art though I’ve repurposed the frames and put them into a binder with page protectors – along with some of Taylor’s own art and she LOVES the art made for her by her Mommy!
These also make GREAT gift ideas – as long as you know what the theme of the baby nursery is!
Please send me a note and let me know if you try these or some other variation inspired by these.
I would love to see a photo of the finished product!
I also wanted to share with you all another super easy & fun way to use different fonts.
I have been using Canva on both my PC and the app and it’s absolutely amazing!
I can create absolutely anything!
I love it and use it every day! If you aren’t using Canva, I highly recommend it!
Pin It!

Pin It!
I’m so glad you stopped by my website to read out these fun DIY projects! I hope you give them a try!
They add such a personalized touch to a nursery!
Up Next: